When you add any Network Mount Location, our search server will index your data in those locations to make it searchable. An enhanced version of Microsoft SMB, CIFS is a popular native file-sharing protocol in Windows. To mount CIFS share in your system, follow these steps:
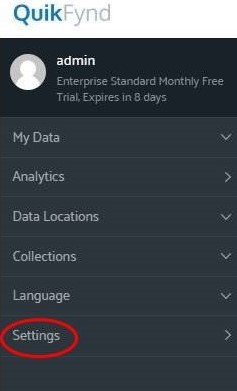
1. Click on the Settings tab.
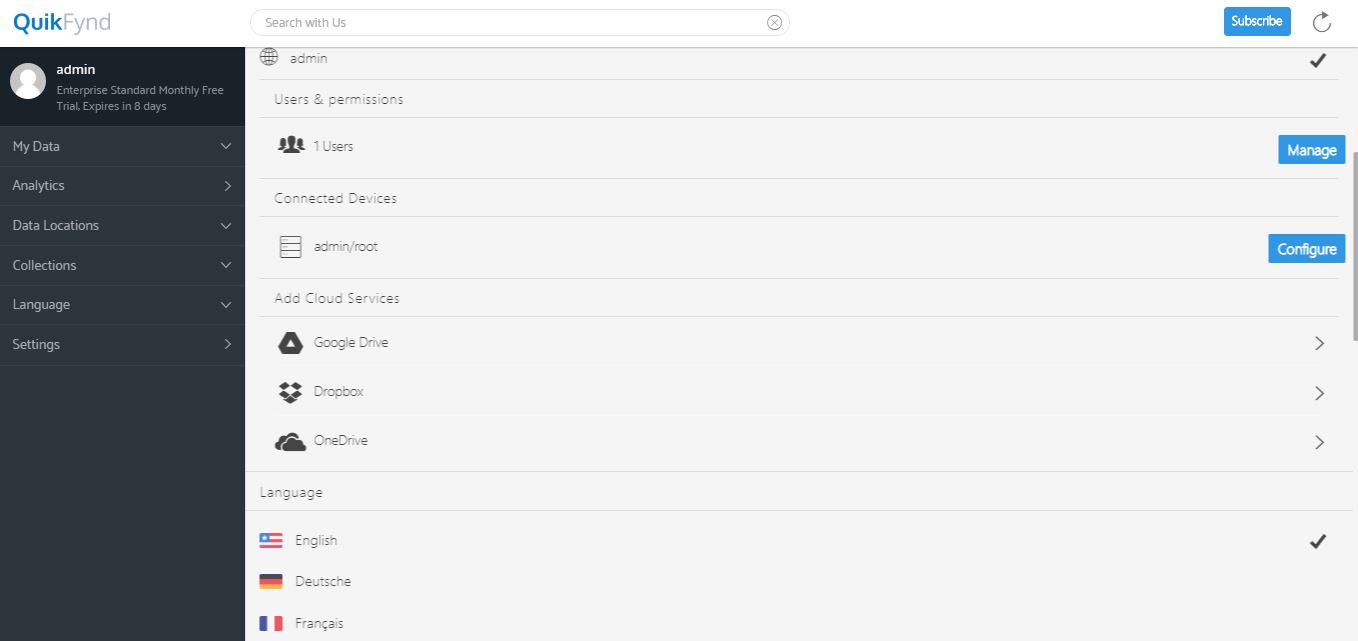
2. Scroll down the Settings page.

3. In the Connected Devices section, click on the Configure button.

4. Click on the CIFS (Common Internet File System) option and you will see a pop-up appeared as shown:

5. Enter the Remote IP Address/Domain Name which is the IP address of the Windows server or the hostname of the computer where the share is located. Only the IP address is needed without any leading or trailing symbols such as / , . $ # etc. In case you are using the hostname, you can negate the problem that arises due to frequent change of IP address.
In order to find the IP address, navigate to the Command Prompt and type ipconfig. Note down your IP address and enter it in the field.

6. Enter the Share Name which is the name of the share. For example: If the share is of the form \\My_computer_1\My_Share, then omit the computer name and enter only the share name, in this case, My_Share.
7. Enter the Username - Here enter the name of the user who has read access to the share. NOTE: DO NOT add the domain name in front of the username. For example: If the active directory domain name is ‘my_domain.com’ and username is ‘Administrator’, then only provide Administrator in the username field.
8. Enter the password and Click on the OK button. The share will be mounted to QuikFynd.
How to remove Network Mount Location?
To unmount any folder, just click on the minus sign, besides the name of the folder, on the Settings page. It will remove all the files that belong to the mount.